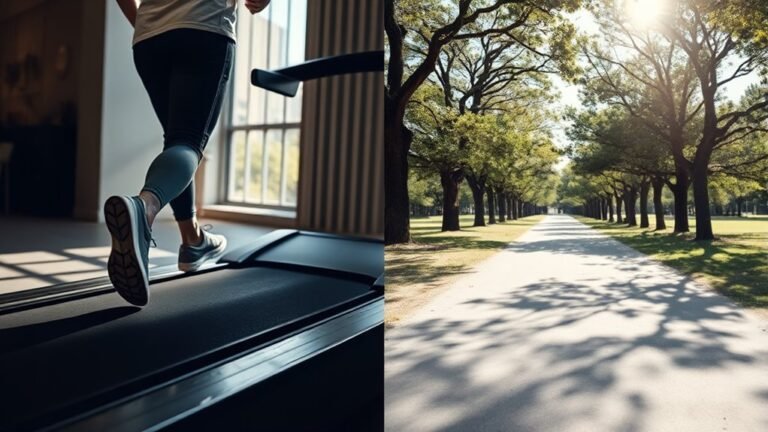
How to Disassemble a Nordictrack Treadmill
To disassemble your NordicTrack treadmill, start by unplugging it and waiting to safely discharge power. This is an essential first step to ensure your safety during the teardown process.
Use screwdrivers, wrenches, and Allen keys to remove the console and handlebars. Carefully unplug the electronics and label all connections to keep track of wiring.
Next, loosen the running belt tension before unbolting and lifting the running deck. Detach the motor by disconnecting wiring and removing mounting bolts.
Organize all parts and screws methodically to ease reassembly. Following these precise steps will prepare you for a smooth teardown, with further guidance available to tackle complex components.
Key Takeaways
- Unplug the treadmill and wait 5 minutes to safely discharge electrical components before starting disassembly.
- Remove the console and handlebars by unplugging wiring harnesses and unscrewing mounting bolts carefully.
- Loosen rear roller bolts to reduce belt tension, then remove deck bolts and lift the running deck away from the frame.
- Disconnect motor wiring and unbolt the motor, loosening the drive belt tensioner to safely remove the motor assembly.
- Label and organize all screws and parts during removal to facilitate efficient reassembly and prevent confusion.
Preparing Your NordicTrack Treadmill for Disassembly
Before you begin disassembling your NordicTrack treadmill, make sure it’s completely powered off and unplugged from the electrical outlet. This fundamental safety precaution prevents accidental startups and electrical hazards during treadmill maintenance.
Next, clear the surrounding workspace to avoid tripping or interference while handling components. Use a clean cloth to wipe down surfaces, removing dust and debris that could hinder your work or damage parts.
Inspect the treadmill for any visible damage or loose bolts, addressing these issues to guarantee a smooth disassembly.
Document or photograph the initial setup to aid reassembly.
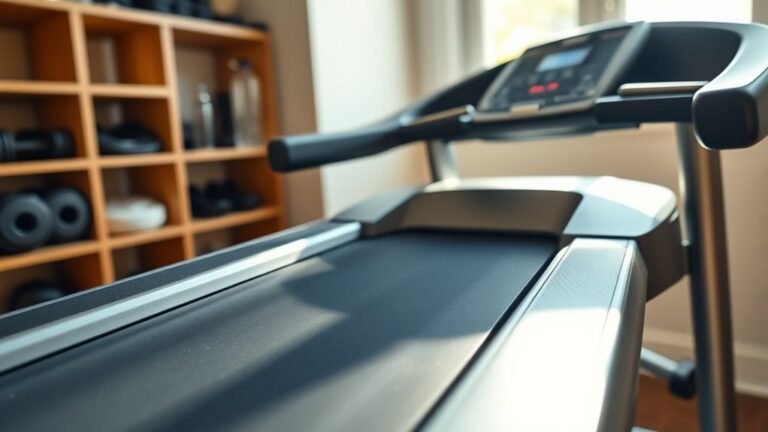
Tools You’ll Need to Take Apart Your NordicTrack Treadmill
You’ll need a specific set of tools to efficiently disassemble your NordicTrack treadmill, guaranteeing each component is handled correctly. Having the right tool types and necessary equipment streamlines the process and prevents damage.
- Screwdrivers: Both Phillips and flathead screwdrivers are essential for removing screws securing panels and covers.
- Allen wrenches: NordicTrack models often use hex bolts; a set of metric Allen wrenches will help you loosen these fasteners precisely.
- Adjustable wrench or socket set: These are necessary equipment for detaching nuts and bolts holding the frame and motor assembly.
Using these tools methodically guarantees you can dismantle the treadmill safely and efficiently, preparing it for repair, transport, or storage.
Methodical use of tools ensures safe, efficient treadmill disassembly for repair, transport, or storage.
Always verify tool compatibility with your specific model before starting.
How to Safely Disconnect Power and Electronics
Once you have gathered the right tools to dismantle your NordicTrack treadmill, focus on safely disconnecting its power and electronics. Prioritize power safety by unplugging the treadmill from the wall outlet.
Avoid touching any internal wiring until you confirm no residual current exists. Use insulated tools for electronics handling to prevent static discharge or damage. Label connectors to guarantee accurate reassembly.
| Step | Action | Tip |
|---|---|---|
| 1 | Unplug power cord | Verify outlet is off |
| 2 | Wait 5 minutes | Allow capacitors to discharge |
| 3 | Use insulated tools | Prevent static damage |
| 4 | Disconnect connectors | Label for reassembly |
| 5 | Store parts safely | Avoid moisture exposure |
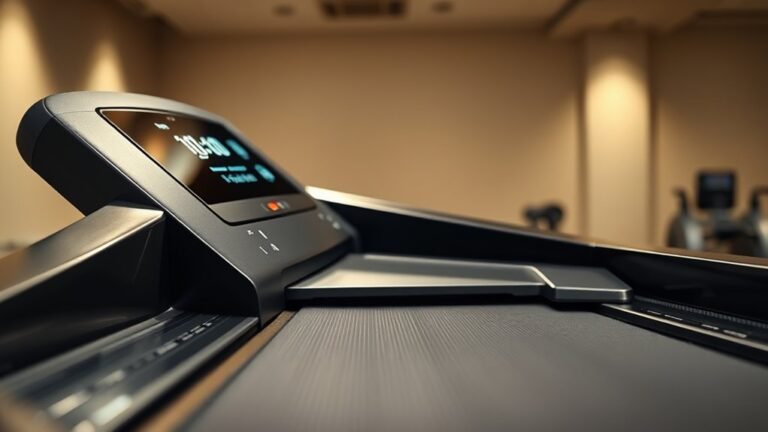
How to Remove the Console and Handlebars
Start by carefully detaching the console connections, ensuring all wiring harnesses are unplugged without forcing any connectors.
Next, locate and remove the fasteners securing the handlebars, typically screws or bolts accessible from underneath or behind.
Keep track of all hardware for reassembly and handle components gently to avoid damage.
Detaching Console Connections
Carefully disconnect the console wiring harness to prevent damage to the electrical components.
Begin by identifying each connection type, which typically includes keyed plugs, snap connectors, and ribbon cables. Follow these steps:
- Locate the console wiring and trace each connection to understand its type and secure points.
- Gently release any locking tabs or clips on keyed plugs or snap connectors to avoid breaking them.
- For ribbon cables, carefully pry the locking mechanism open before sliding the cable out.
Use a small flat-head screwdriver if necessary but apply minimal force.
Keep track of all disconnected cables and their respective ports for reassembly. This methodical approach guarantees you safely detach the console connections without compromising the treadmill’s electronic integrity.
Removing Handlebar Fasteners
After disconnecting the console wiring harness, you can proceed to remove the handlebar fasteners that secure both the console and handlebars to the treadmill frame.
Examine the handlebar design carefully to identify all attachment points.
Nordictrack treadmills typically use a combination of Phillips head screws and Allen bolts as fastener types for these components. Use the appropriate screwdriver or Allen wrench to loosen and remove each fastener systematically.
Support the handlebars firmly as you remove the fasteners to prevent any sudden detachment that could damage the wiring or frame.
Once all fasteners are removed, gently lift the handlebars and console assembly away from the frame.
Keep fasteners organized for reassembly. This methodical approach guarantees the handlebar design remains intact and ready for future maintenance or replacement.
How to Detach the Running Deck and Belt
First, gather the necessary tools and clear your workspace to guarantee easy access to the treadmill components.
Next, carefully loosen the belt tension to prevent damage during removal.
Finally, unscrew the deck bolts securing the running deck before lifting it off the frame.
Prepare Tools And Workspace
Gather at least three essential tools before you begin: a Phillips screwdriver, an adjustable wrench, and a hex key set. Proper tool selection guarantees efficiency when detaching the running deck and belt.
Equally important is workspace organization; clear a flat area near the treadmill to lay out parts and tools systematically.
- Arrange your tools within easy reach to avoid interruptions during disassembly.
- Use a protective mat or cardboard under the treadmill to prevent floor damage and catch small components.
- Ensure adequate lighting to identify screws and bolts accurately, reducing the risk of stripping.
Loosen Belt Tension
Start by unplugging the treadmill to confirm safety before adjusting the belt tension.
Locate the rear roller bolts on both sides of the running deck. Use an Allen wrench to turn each bolt counterclockwise in small increments.
This process loosens the belt tension gradually, preventing damage. After each adjustment, check the belt’s slack by lifting it slightly; it should have about 2-3 cm of give, which is ideal for maintenance.
Avoid over-loosening, as this can cause belt misalignment during disassembly.
Remember, proper belt adjustment not only facilitates easier deck and belt removal but also extends component longevity.
Following these maintenance tips guarantees you won’t damage the belt or rollers while disassembling your Nordictrack treadmill.
Proceed only when the belt tension is sufficiently relaxed.
Remove Deck Bolts
Once the belt tension is adequately loosened, you can proceed to remove the deck bolts securing the running deck. This step is essential for effective deck maintenance and guarantees safe bolt replacement if needed.
Follow these precise actions:
- Identify all bolts attaching the deck to the frame, typically located along the sides and rear.
- Use the appropriate wrench or socket to carefully unscrew each bolt, supporting the deck to prevent sudden drops.
- Once all bolts are removed, gently lift the deck away from the frame, detaching the running belt simultaneously.
Completing this methodical process allows you to inspect the deck and belt thoroughly, facilitating repairs or replacements without causing damage to structural components.
How to Remove the Frame and Upright Supports
Begin by disconnecting all electrical connections between the treadmill’s frame and the upright supports to guarantee safety.
Use a screwdriver or appropriate tool to remove the screws or bolts securing the upright supports to the main frame. Keep track of all fasteners for reassembly.
Once detached, carefully lift the upright supports away from the frame, avoiding strain or damage to wiring harnesses.
Conduct a thorough frame inspection at this stage, checking for cracks, rust, or bent components. These are essential steps in treadmill maintenance.
If any defects are found, address them before proceeding.
Set the frame and upright supports aside on a stable surface to prevent damage. This methodical removal prepares you for subsequent steps without compromising the treadmill’s structural integrity or electrical systems.
How to Remove the Motor and Drive System
To remove the motor, first disconnect all electrical connections and unbolt the motor from its mounting bracket.
Next, carefully detach the drive belt by loosening the tensioner pulley to release the belt’s grip on the motor pulley.
Following these steps methodically will guarantee safe and efficient removal of the motor and drive system.
Motor Removal Steps
Although the motor and drive system are secured within the treadmill frame, you can remove them by first disconnecting the power supply and carefully detaching the wiring harness.
Follow these motor removal steps to guarantee proper motor maintenance and aid in troubleshooting issues:
- Unscrew the mounting bolts that secure the motor to the frame using a socket wrench, keeping track of all hardware for reassembly.
- Gently slide the motor forward to disengage it from the drive assembly without forcing or bending components.
- Carefully lift the motor out of the treadmill frame, supporting its weight evenly to avoid damaging the wiring or connectors.
Drive Belt Detachment
Once you’ve removed the motor from the treadmill frame, the next step involves detaching the drive belt that links the motor to the treadmill’s rollers.
Begin by loosening the motor mount bolts to reduce tension on the drive belt.
Carefully slide the belt off the motor pulley, making sure you avoid twisting or damaging it. This step is essential for effective drive belt maintenance, allowing inspection for wear or cracks.
If you notice fraying or significant wear, proceed with drive belt replacement to maintain peak treadmill performance.
When reinstalling, align the belt properly on both pulleys and retighten the motor mount bolts to the manufacturer’s specifications.
Proper drive belt detachment and handling prevent premature failure and guarantee smooth operation during treadmill use.
Tips for Organizing Parts and Screws During Disassembly
When you start disassembling your Nordictrack treadmill, keeping track of every part and screw becomes essential to avoid confusion during reassembly.
Effective part labeling and screw organization will streamline the entire process. Follow these steps:
Effective labeling and organizing screws simplifies reassembly and keeps your treadmill parts clearly identified throughout the process.
- Label Each Part: Use masking tape and a fine-tip marker to tag each component immediately after removal. Note its original location for quick identification later.
- Organize Screws by Type: Separate screws by size and thread type in compartmentalized containers or labeled bags. This prevents mixing and speeds up reassembly.
- Create a Reference Log: Maintain a detailed list or diagram correlating part labels and screw groups with their respective positions on the treadmill.
Troubleshooting Common Problems During Disassembly
Why does your Nordictrack treadmill sometimes resist disassembly? Common issues include tightly fastened screws, hidden clips, or stuck wiring connectors.
To overcome these, use the correct screwdriver size to avoid stripping screws and apply gentle, consistent force when detaching clips. If wiring connectors don’t budge, depress locking tabs fully before pulling.
Another frequent problem is misidentifying screws, which slows progress. Label each screw type during removal to streamline reassembly.
Disassembly tips include working on a clean, flat surface to prevent losing small parts and reviewing the manual diagrams to identify tricky components.
When resistance occurs, pause and reassess rather than forcing parts apart, which can cause damage. Methodical attention to these common issues guarantees a smoother, safer disassembly process.
How to Store or Transport Your Disassembled NordicTrack Treadmill
After carefully addressing common disassembly challenges, you’ll want to guarantee your NordicTrack treadmill parts stay organized and protected during storage or transport.
Ensuring your NordicTrack treadmill parts remain organized and protected is key during storage or transport.
Follow these steps to optimize storage options and apply key transportation tips:
- Label and bag small parts: Use clear, sealable bags and label each with its corresponding section to prevent loss and ease reassembly.
- Choose a dry, climate-controlled storage area: Protect electronic and metal components from moisture and temperature fluctuations that can cause corrosion or damage.
- Use padding and secure packaging: Wrap delicate parts in bubble wrap or foam.
When transporting, secure parts in a sturdy box or crate to minimize movement and impact.
Frequently Asked Questions
Can I Upgrade My Nordictrack Treadmill Parts During Disassembly?
You can upgrade your NordicTrack treadmill parts during disassembly, but make certain you verify part compatibility carefully.
Prioritize treadmill upgrades that match your model’s specifications to maintain performance and avoid damaging the machine or voiding warranties.
How Often Should I Disassemble My Treadmill for Maintenance?
You should perform treadmill maintenance, including disassembly, at least twice a year; studies show 70% of treadmill failures stem from neglected upkeep. Maintaining a biannual disassembly frequency guarantees peak performance and extends your equipment’s lifespan.
Are Replacement Parts for Nordictrack Treadmills Universally Compatible?
You won’t find replacement parts universally compatible across NordicTrack treadmills due to model-specific designs. Always verify part numbers to avoid compatibility issues, ensuring you select exact matches for reliable performance and safety.
Can Disassembly Void My Treadmill’s Warranty?
Yes, disassembly can void your warranty if you don’t follow specific disassembly guidelines. Always review warranty implications in the user manual before proceeding. Ensure authorized procedures to maintain coverage and avoid unintended voidance.
What Safety Gear Is Recommended During Treadmill Disassembly?
You should wear safety goggles to protect your eyes from debris and work gloves to prevent cuts or abrasions. These precautions guarantee you handle sharp parts and electrical components safely throughout disassembly.
Conclusion
By carefully cataloging components and cautiously cutting connections, you’ll confidently conquer your NordicTrack treadmill teardown. Methodically managing motors, mats, and monitors minimizes mistakes and maximizes safety.
Staying systematic as you separate screws and sections guarantees smooth storage or seamless shipment. Remember, readiness, respect for the rig, and routine troubleshooting turn a tricky task into a tidy triumph.
With steady steps and sharp strategy, you’ll swiftly and successfully disassemble your treadmill. Mastering how to disassemble a NordicTrack treadmill ensures the process is efficient and safe every time.